
At a glance
Three things to carry forward
- 01
Core training improves movement practice and force control; it is not a method of spot reduction.
- 02
Choose the variation that lets you breathe normally while the trunk position stays steady.
- 03
Use the timer as an upper boundary, rest as needed, and stop for symptoms or lost control.
01
Understand what core stability trains
Your core is not one muscle and it does more than bend the torso. During walking, lifting, carrying, reaching, and sport, trunk muscles coordinate with the hips, shoulders, breathing system, and pelvic floor. A dead bug asks you to organize the trunk as the limbs move; a bird dog changes the base of support; side support resists sideways motion; and a band press or carry challenges rotation and leaning.
Abdominal exercises can strengthen the muscles they load, but they do not choose where body fat changes. Spot reduction claims confuse local muscle work with whole-body weight change. Use core training for control, strength, confidence, and transfer to other movements. Nutrition, activity, sleep, health, medication, and other factors belong to a broader plan when body composition is a goal.
02
Practice breathing and bracing without straining
- 01
Find a comfortable setup
Lie with knees bent, sit tall, or stand with support. Choose the position that lets the ribs, pelvis, neck, and shoulders feel organized without forcing them flat or rigid.
- 02
Use a quiet exhale
Breathe out through relaxed lips, notice the trunk gently firm, and avoid pushing the breath down or squeezing as hard as possible.
- 03
Add a small limb movement
Slide one heel, lift one foot, or reach one arm while continuing to breathe. Reduce the range if the back position changes or tension moves into the neck.
Bracing is task-specific, not a maximum contraction held for the entire session. Use only the tension needed to control the variation. If you cannot breathe, the movement range, lever length, duration, or resistance is too demanding for that set. Reset and choose the regression rather than rehearsing strain.
03
Prepare a stable space for floor and standing work
Leave room to extend one limb and keep every support stable. Use only an inspected band and purpose-built anchor. No band is required: an unweighted suitcase hold beside support is valid. Add a secure, easy-to-grip load only when you can control it.
04
Complete the short core stability routine
Warm up with two minutes of easy marching, shoulder motion, and breathing practice. Set 25 seconds of work and 40 seconds of recovery. One round has six work intervals: one alternating dead bug, one alternating bird dog, then one side-plank and one anti-rotation or carry interval on each side. Stop any interval early if technique changes.
| Movement | Dose | Coaching cue | Options |
|---|---|---|---|
| Dead bug | 1 work interval (25 seconds total); alternate sides throughout | Exhale as one heel taps or leg reaches; keep the range small enough to breathe and control the trunk. | Regression: heel slides with both feet supported. Progression: lengthen one lever or add a brief pause without losing position. |
| Bird dog | 1 work interval (25 seconds total); alternate sides throughout | Reach long rather than high and keep the hips and shoulders facing the floor. | Regression: move one arm or one leg. Progression: reach opposite limbs and pause for two steady breaths. |
| Side plank | 2 work intervals (25 seconds per side) | Press the support away, keep the neck comfortable, and end the set before the hips rotate or drop. | Regression: bent-knee side support or standing wall side plank. Progression: straighten the legs or use a longer lever. |
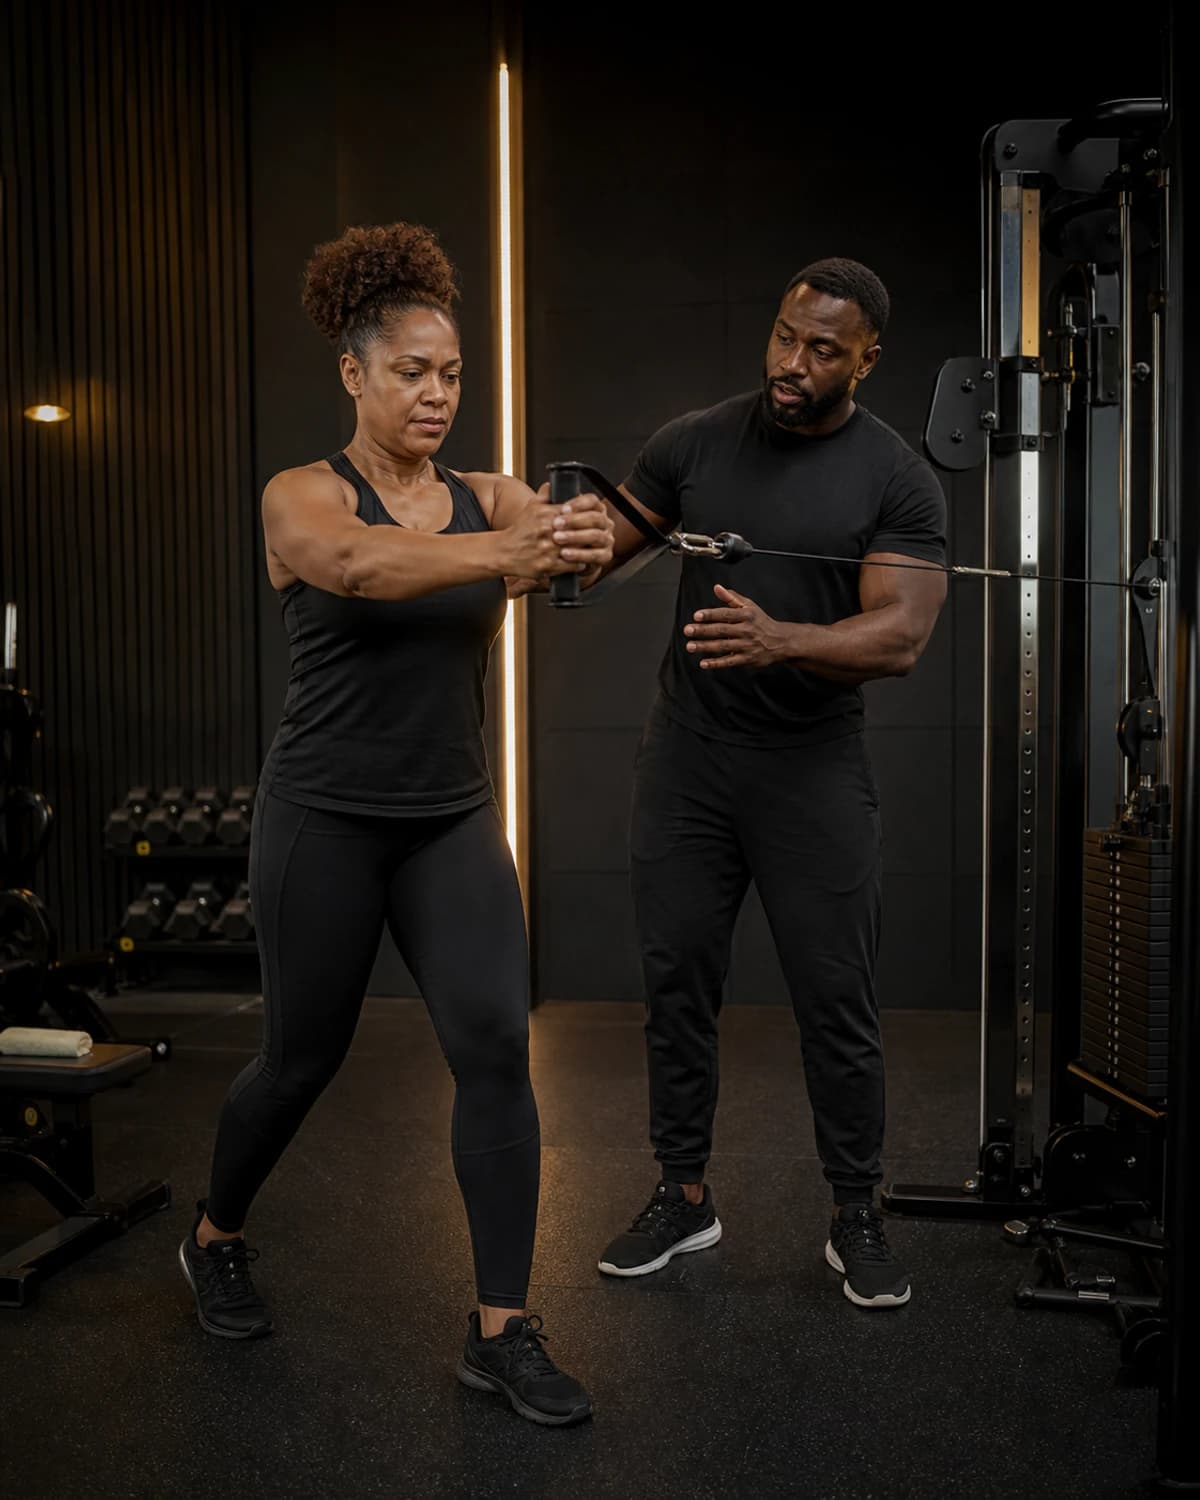
| Standing anti-rotation press or suitcase carry | 2 work intervals (25 seconds per side) | Stay tall, keep breathing, and resist turning or leaning as the band or load pulls. | Regression: unweighted suitcase hold beside support. Progression: add light resistance, distance, or a slow march—not all three. |
05
Choose one regression or progression
Use a regression when you cannot breathe normally, the trunk position changes immediately, the setup feels unstable, or you are learning the pattern. Shorten the reach, keep another point of support, move from floor to wall, remove load, or reduce the interval. The easier option still trains the intended pattern when it lets you create better repetitions.
A progression should be small: five more seconds, a slightly longer lever, a light resistance increase, or one additional round. Do not combine all four. Repeat the change for several sessions and watch technique, soreness, and daily function. Progress is the ability to handle a little more while preserving control, not the ability to make every set look harder.
06
Stop when technique or symptoms change
Muscle effort is expected, but this page cannot assess injury, a medical condition, pregnancy, postpartum recovery, recent surgery, or unexplained symptoms. Seek urgent care for alarming symptoms and qualified clinical guidance for pain or concerns that persist. A fitness professional can adapt exercise within that guidance without diagnosing the cause.
Useful context
Frequently asked questions
How often can I do this core routine?
Start with two or three nonconsecutive sessions when that fits your training and recovery. Use less if quality declines.
Will this workout reduce abdominal fat?
It trains core muscles but cannot select where fat changes. Use a broader individualized plan for body-composition goals.
What if I cannot get onto the floor?
Use wall support, an unweighted hold, supported marching, or a safely anchored band press. Coaching can add adaptations.
Should I finish the timer interval if my form changes?
No. Stop, choose a regression, or end the round. The timer never overrides breathing, control, pain, or symptoms.
Official references
Sources and further reading
- Office of Disease Prevention and Health PromotionPhysical Activity Guidelines for Americans↗
- Centers for Disease Control and PreventionAdult Activity: An Overview↗